Level Up Your Object Oriented Programming Knowledge with Nintendo Switch
My attempt to teach Object-Oriented Programming with a Nintendo Switch-inspired approach, simple to understand so you can level up your software development skills.
Imagine for a moment that Object Oriented Programming (OOP) is like the inner workings of your favorite gaming console, the Nintendo Switch. Just as the Switch combines different components to bring your favorite games to life, OOP unites data and functions to create efficient and organized code.
In this article, we'll embark on a journey to explore the four fundamental principles of OOP through the lens of the Nintendo Switch, will try my best to teach you this powerful programming paradigm with examples that are as enjoyable as a game of the great N. Get ready to level up your coding skills and game on as we unlock the secrets of OOP with the Nintendo Switch as our guide.
OOP relies on two major concepts: Classes and Objects. These concepts can be applied in code to enable us to build applications. Object Oriented Programming was created to guide the creation of better software, by achieving easier maintenance and reusability.
DISCLAIMER
The following examples are just an attempt to explain my point, there may be inconsistencies according to reality
Classes and Objects
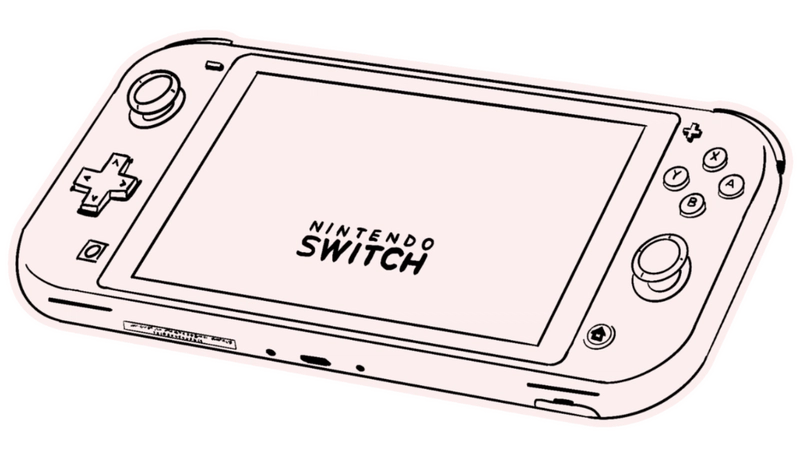
Let's say that we want to create a brand new console, shall we? :) It comes in many colors, we have the ability to play videogames anywhere, it has a battery life of 6 hours that drains every time you play a game, and you can install many games on its internal storage! We decided to name it ✨Nintendo Switch✨
If we translate this in code, we can create a Class named NintendoSwitch and we list the principal attributes and its methods, think of a class as it were a template or blueprint that will specify how the console looks and the way it's going to perform some actions (I would like to explain this class/object stuff with Typescript first):
class NintendoSwitch {
  private color: string;
  private screenSize: number = 5.5;
  private storageCapacity: number = 8;
  private batteryLife: number = 6;
  private gamesInstalled: string[];

  constructor(color: string, gamesInstalled: string[]) {
    this.color = color;
    this.gamesInstalled = gamesInstalled;
  }

  playGame(game: string): void {
    /* code logic */
  }

  installGame(game: string): void {
    /* code logic */
  }

  checkBatteryLife(): void {
    /* code logic */
  }
}
Here we have the principal attributes like color, screenSize, storageCapacity, batteryLife, gamesInstalled. Then we have the constructor, a function that serves to initialize the attribute's values when we create an instance of NintendoSwitch class.
Note that our class already has storageCapacity, batteryLife, and screenSize initialized, because it will be the same for all the new instances instead of color and gamesInstalled, those can be set at the moment we create the instance of the current class.
An instance is equal to an object, we create as many objects as we want from a Class, in most languages we
use the new keyword in order to create a new object, every object can be different one from another, because we can
have many NintendoSwitch objects with different colors and different games installed!
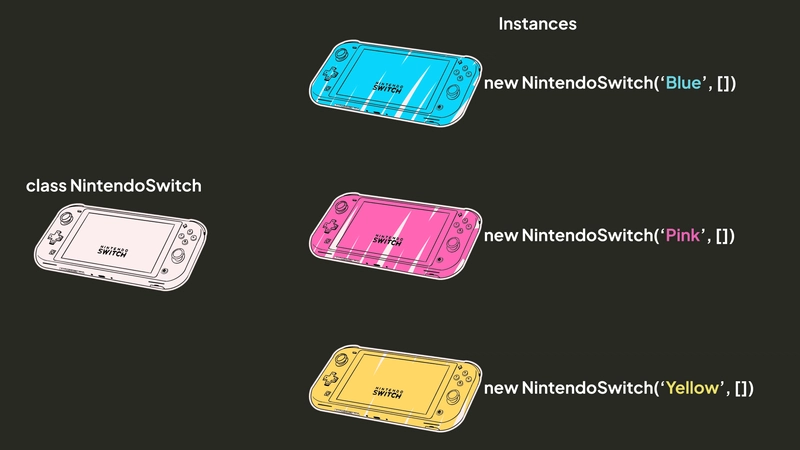
In this case, none of our instances have games to play with :( but the good part is that you can now understand what Classes and Objects are, so let's move on!
In order to achieve mastery, we need to understand the ✨four principles of Object Oriented Programming✨ starting with the first one:
Encapsulation
Is the need to separate your code in independent pieces for a single purpose, think of it like a box 📦 that holds data (properties, attributes) and the things that can be done with that data (methods, functions). This way, you can ensure that your data is safe and it's used correctly.
This principle can define the reason for having classes, we encapsulate a set of attributes and the things we can perform with those attributes as methods, with the purpose of hiding the internal process and just showing what matters to the public, it's up to us if we want to set some attributes or methods as public, or keep it private just for internal use.
If you want to explain this in a more technical way:
Encapsulation is a way to restrict the direct access to some components of an object, so users cannot access state values for all of the variables of a particular object. Encapsulation can be used to hide both data members and data functions or methods associated with an instantiated class or object.
Inheritance
Is the idea that you can inherit perks and abilities from your parents 👨👩👦, like eye color or hair type.
Let's go back to the Nintendo Switch; Now we want to create a new console by taking all the things inside of the Nintendo Switch but with additional features. If we talk in terms of coding, maybe some newbie developer may think of copying and pasting the Nintendo Switch class and creating a new one to add the desired new features... easy, right?
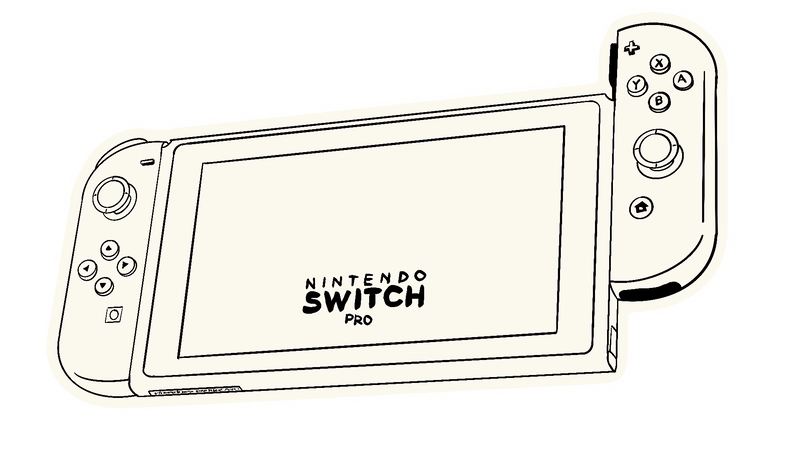
But what if I told you that instead of re-write the code again, we can create our new model from what we already have 😱 Yes! you heard it right! we can extend from the Nintendo Switch class and then create the Nintendo Switch Pro class without copying all the code from scratch, we will have all the features of the original Nintendo Switch, and then we can just add the new code for the features! on this new model, we want detachable controllers and also the ability to connect the Nintendo Switch to a dock and be able to play on a TV! how awesome is that?
So we proceed to create our new class for the Nintendo Switch Pro, extending from NintendoSwitch class, like this:
class NintendoSwitchPro extends NintendoSwitch {
  constructor(props) {
    this.super(props);
  }

  detachJoycons() {
    /../;
  }

  connectToTV() {
    /../;
  }
}
We can see that its composition it's similar, but now we can detach the controllers (detachJoycons) to play with them wireless, and we can also connect it to the TV! (connectToTV)
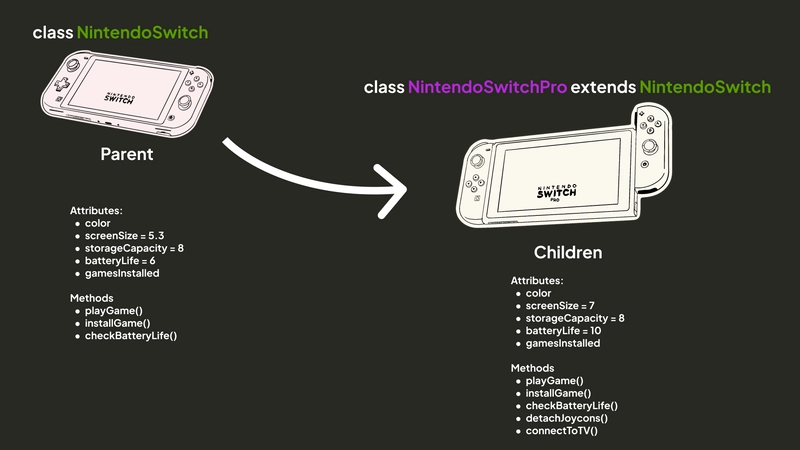
Maybe this is a vague example but in the big picture this is ✨inheritance✨ we take the NintendoSwitch class, and extend this in a new class NintendoSwitchPro that inherits all the NintendoSwitch attributes and methods, and additionally we have two more methods that can do new things!
This approach makes things more organized and saves you from doing the same things over and over again.
Polymorphism
Polymorphism means many shapes, in OOP we can modify the properties and methods that we inherited to have different behavior in a way that makes sense for each class. This makes our code flexible and easy to adapt to many use cases.
Going back to our previous example, our first class, Nintendo Switch, as we know has a little screen of 5.5in, its size makes you able to even fit in your pocket and the battery lasts 6 hours of continuous play! But then when we created the Nintendo Switch Pro, and decided that this new model would have a screen of 7in, bigger than his parent!! and Thus we have a larger size of the whole console that can barely fit in your jeans pocket, we increment the battery life up to 10 hours of continuous play, and the rest remains the same, so now our new class will end like this:
class NintendoSwitchPro extends NintendoSwitch {
  private screenSize: number = 7;
  private batteryLife: number = 10;

  constructor(props) {
    this.super(props);
  }

  detachJoycons() {
    /../;
  }

  connectToTV(game: string) {
    /../;
  }
}
super() is another keyword that most languages adopt to refer to the super class or parent class, in the case
above, we are using the same exact constructor of the parent class because we don't need to add anything new to it.
As you can see, we set a couple of attributes that are named the same as some of the parent models but modified their values to fit the new necessity. This is called Overriding and it is a valid practice, even with methods! is like taking the inherited abilities and leveraging them with superpowers 💪🏻.
Abstraction
Abstraction means simplifying complex things by breaking them into smaller and more manageable parts. Think of it like driving a car 🚗 we don't need to know all the technical details of how the engine works, we just need to understand how the basic controls like the steering wheel, gas pedal, and breaks work. With that being said, our methods contained in the NintendoSwitch class can tell us WHAT it does, without caring much about HOW it does.
For example, the method checkBatteryLife() can tell us what it does just by its own name! but internally works like this:
// NintendoSwitch class file
checkBatteryLife(): void {
  console.log(`This Nintendo Switch has ${this.batteryLife} hours of battery life remaining.`);
}

//Our main script
const myFirstSwitch = new NintendoSwitch('Blue', []);

myFirstSwitch.checkBatteryLife(); // Console output: This Nintendo Switch has 6 hours of battery life remaining.
As you can see, the batteryLife attribute on its own doesn't say much about it, it's just 6, but 6 what?? then checkBatteryLife() gives us more context, and the result is that the logged message in the console specifying that the battery life attribute is meant to be the hours left of battery life!
Sometimes we can find getters and setters functions inside classes, we won't focus on these things right now, but think of them as functions that help us to set/modify the value of an object's attribute (setters), and functions to read those values (getters). At first sight, this may seem useless, but sometimes this can keep our attributes safer, like by adding a validation layer, so no one can set a null-ish value that can break our app, or set that abstraction layer like in the example above to give a meaning to our attributes values.
In OOP we can hide complicated pieces of code and provide a simple interface, so we can focus on what our code does rather than how it does it, this makes our code easier to understand and maintain.